Try To Reach The Abyss Depth & Evolution Planning
Read the light-to-dark gradient, time pushes around every-5-level forms, and know when to farm safe loops.
The map is a gradient, not a flat race
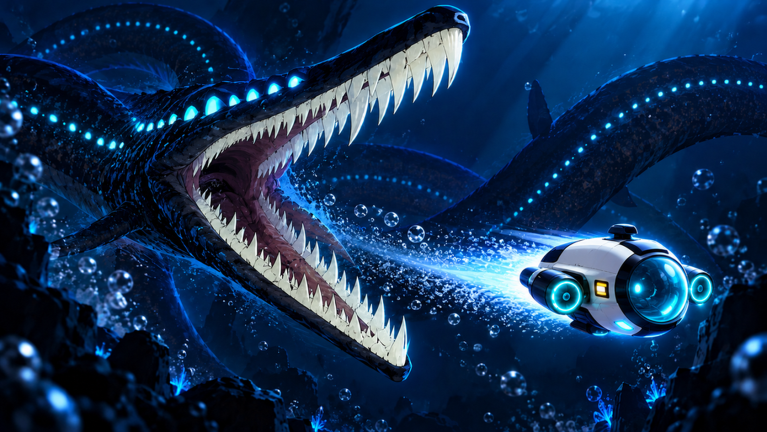
Try To Reach The Abyss sells a mood you can plan around: bright reefs give way to dim channels, then to black water where silhouettes matter. Released 7 October 2026 by Giant Leviathan, the live loop still hinges on outpost chains, Speed earned by stepping OUT, upgrade spends into Speed / hull / torpedoes, Research Data abilities, and sea monsters — with evolutions landing every five levels. This guide is about when to push the next depth band versus when to farm a safe loop so the next form change arrives alive.
If you are new, skim Getting Started and Outposts & Speed first. For spend order inside each evolution window, keep Submarine Upgrades open.
Light → mid → dark: what changes
Bright reef band
Early water teaches steering and docking. Markers are easy to trust. Your job is not 100% exploration — it is learning the arrive → exit → bank Speed ritual without panic. Torpedo investment can stay light unless something already forces a fight.
Mid depth
Travel legs lengthen. Scrapes cost more because you are farther from the last comfortable dock. This is where under-invested Speed starts to hurt session pace. Research detours become tempting; take them only when you can still afford a failed side path.
Abyss-dark band
Visibility drops, monster pressure rises, and bad spends show immediately. Hull and torpedoes matter more, but a slow sub still dies to exposure time. Depth here is a resource check: Speed banked, upgrade plan current, evolution timer understood, Research abilities actually unlocked — not just collected as flavor.
Evolution as a scheduled power spike
Every five levels your submarine evolves into a new form. Treat those breakpoints like raid unlocks:
| Levels | Mindset |
|---|---|
| 1–4 / 6–9 / 11–14… | Build toward the spike; prefer safe loops if the next marker looks deadly |
| 5 / 10 / 15… | Power spike window — relearn turn feel, then push a marker you postponed |
After each evolution, take thirty seconds at an outpost to re-check camera framing and turning radius before committing to a hard stretch. Form changes are progress and a controls moment — see Controls & How to Play.
Safe farm loops vs marker pushes
When to farm safe loops
Choose a known outpost circuit when:
- You are 1–2 levels from an evolution
- Hull is low and you lack points for a fix
- Speed feels stuck because you have been skipping exits (fix that first)
- A full 12-player lobby makes the next contested channel chaotic
- You want one clean Research Data pickup without risking the whole run
Safe loops are not “wasting time.” They convert risky ambition into a timed spike. Bank Speed, take free upgrade points, and arrive at the evolution alive.
When to push the marker hard
Commit to the next depth marker when:
- You just evolved and the new form feels stable
- Travel times are trending down across the last few docks
- Your last failures are solved by the points you just spent
- You have a retreat plan to a known outpost if a silhouette contests the channel
Pushing while tilted after a death usually recreates Mistake chains covered in Common Mistakes.
Planning a depth session (45–90 minutes)
- Open with a bank: Hit a familiar outpost, step OUT, confirm Speed.
- Read the level counter: Note distance to the next multiple of five.
- Pick a mode: Safe loop until spike, or marker push if you are fresh off a form change.
- Budget one research detour only if the return heading is obvious — Research Data & Abilities.
- Pre-decide fight rules: Optional silhouettes are ignored on low hull; forced blockers get torpedoes or a retreat — Sea Monsters.
- Close on an outpost, not mid-channel, so the next login starts from safety.
Upgrade timing inside a depth band
Depth does not change the three pillars; it changes which pillar fails first:
- Speed gains — default answer when legs between markers grow and you die to time-on-target
- Hull — default when scrapes and bites erase confidence before you reach the dock
- Torpedoes — default when fauna stops being skippable in the band you are entering
A practical rhythm: spend the free outpost point for the failure you just had, then save discretionary points for the band you are about to enter — not the band you already cleared. Cross-check priorities on the Tier List after patches summarized on Updates.
Research Data and depth greed
Abilities from Research Data can make darker water readable, but collecting data is still a detour tax. Rules of thumb:
- Do not start a long cave maze under-Speed and one hull tick from death
- Prefer research legs that branch near an outpost so failure still ends in safety
- After unlocking a key ability, do a short marker push to convert the unlock into depth progress — otherwise you only have a prettier reef tourist run
Multiplayer depth etiquette
With up to 12 players, popular mid-depth channels and docks congest. Depth planning includes social space: do not block the only clear approach while you AFK in menus. Exit, spend, move. Your evolution timer is personal; their Speed bank is too. More co-op notes: Players.
Signs your depth plan is healthy
- Evolutions land without emergency quits
- Each darker band starts with a deliberate spend plan
- You can name why you are farming versus pushing today
- Research detours have return headings
- You still step OUT every dock even when “just passing through”
Signs you are depth-greedy
- You attempt black-water markers one level before a form change “for fun”
- You skip outposts to save time and then lose the whole bag
- You fight every silhouette because turning back feels like losing
- You open upgrades while already inside a contested dark channel
- You are waiting on unverified codes instead of banking Speed — see Codes and How to Redeem
How this page links the rest of the wiki
- Loop basics: Getting Started
- Speed economy: Outposts & Speed
- Spend plan: Submarine Upgrades
- Habit fixes: Common Mistakes
- Combat gates: Sea Monsters
- Index: Guides Hub
- Launch context: Launch October 2026
Closing mindset
Depth is a schedule. Evolution is a calendar. The captains who see the abyss on purpose are not always the bravest — they are the ones who farm the boring loop until the form change lands, then spend that spike on a marker that mattered. Read the light, respect the dark, and let every fifth level rewrite what “ready” means. Until Giant Leviathan changes the facts, keep treating OUT for Speed, evolve every five levels, and 12-player lobbies as the stable frame for every push you plan.
Frequently Asked Questions
Quick answers about diving, upgrades, codes, and outposts.
How often does the submarine evolve?
Every five levels your sub evolves into a new form. Plan risky depth pushes for just after those breakpoints when possible.
Should I always push the next marker?
No. If you are one or two levels from an evolution, or hull and Speed are weak, run safe outpost loops first.
When do sea monsters matter more for depth planning?
As water darkens, exposure time and forced blockers rise. Pair hull and torpedo spends with retreat rules before greed pushes.
Can Research Data replace Speed farming?
No. Abilities help, but without Speed banked from outpost exits you still take too long in dangerous bands.
What stayed true since the October 2026 launch?
The OUT Speed loop, evolutions every five levels, Speed/hull/torpedoes upgrades, Research Data, sea monsters, and 12-player servers remain the core frame.